

先说一下,教程不是帮你从无到有创造天空(这样的难度有点大),而是让淡白色的天空变蓝噢。
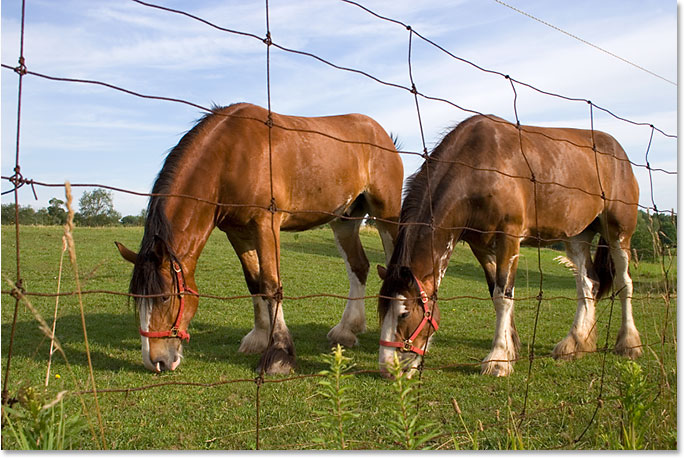
原图效果:
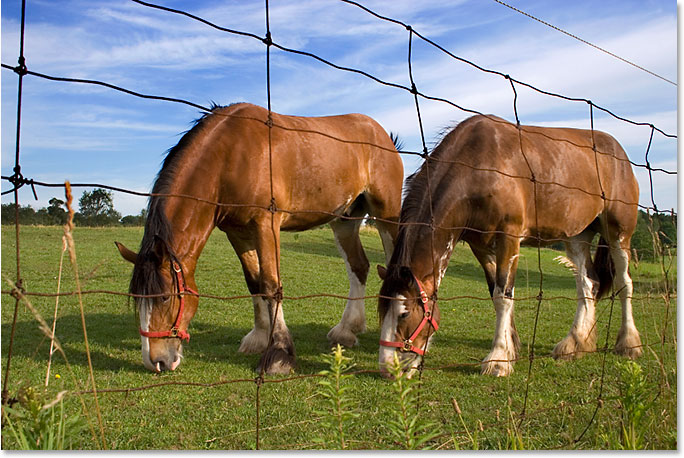
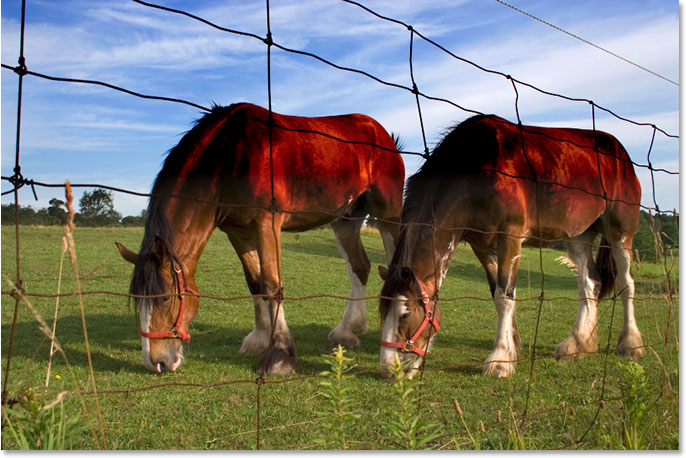
最终效果:
Step 1
导入图片,新建图层。
Step 2
为了等下我们的教程同步,按D重置背景色。
Step 3
选择渐变工具(G),颜色如下(黑色到透明)
Step 4
摁住Shift 键,从上往下拖动:
效果如下:
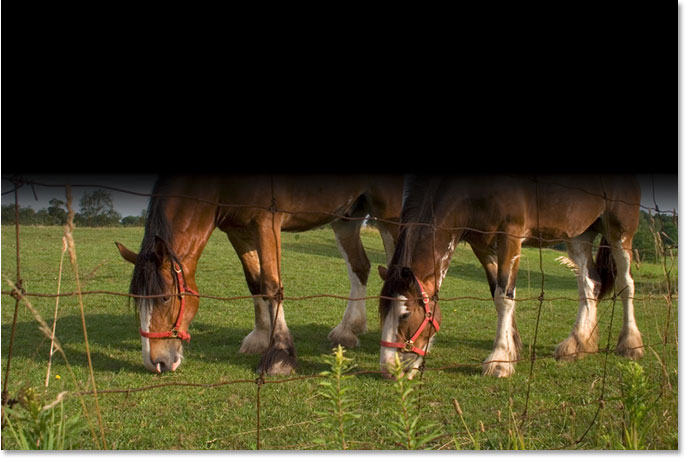
Step 5
图层模式改为叠加。
淡白色的天空与黑色叠加后,饱和度立刻就上来了,效果如下:
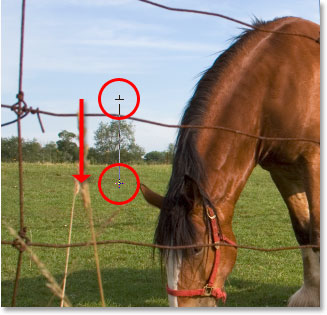
Step 7: Add A Layer Mask To “Layer 1″
添加蒙版。
选择笔刷工具。
将前景色改为黑色。
使用柔软的笔刷,涂抹需要隐藏的部分。
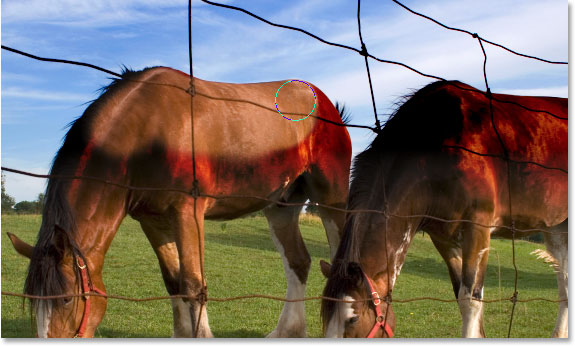
效果大致如下:
搞定收工!